Setting up an Intel® RealSense™ Camera on an NVIDIA Jetson Xavier NX
This is a guide on how to set up a Intel® RealSense™ Camera and its pyrealsense2 library on the Jetson Xavier NX platform.


By Christian Stippel and Silvio Vasiljevic
Extending our Computer Vision platform with an Intel® RealSense™ Camera on an NVIDIA Jetson Xavier NX
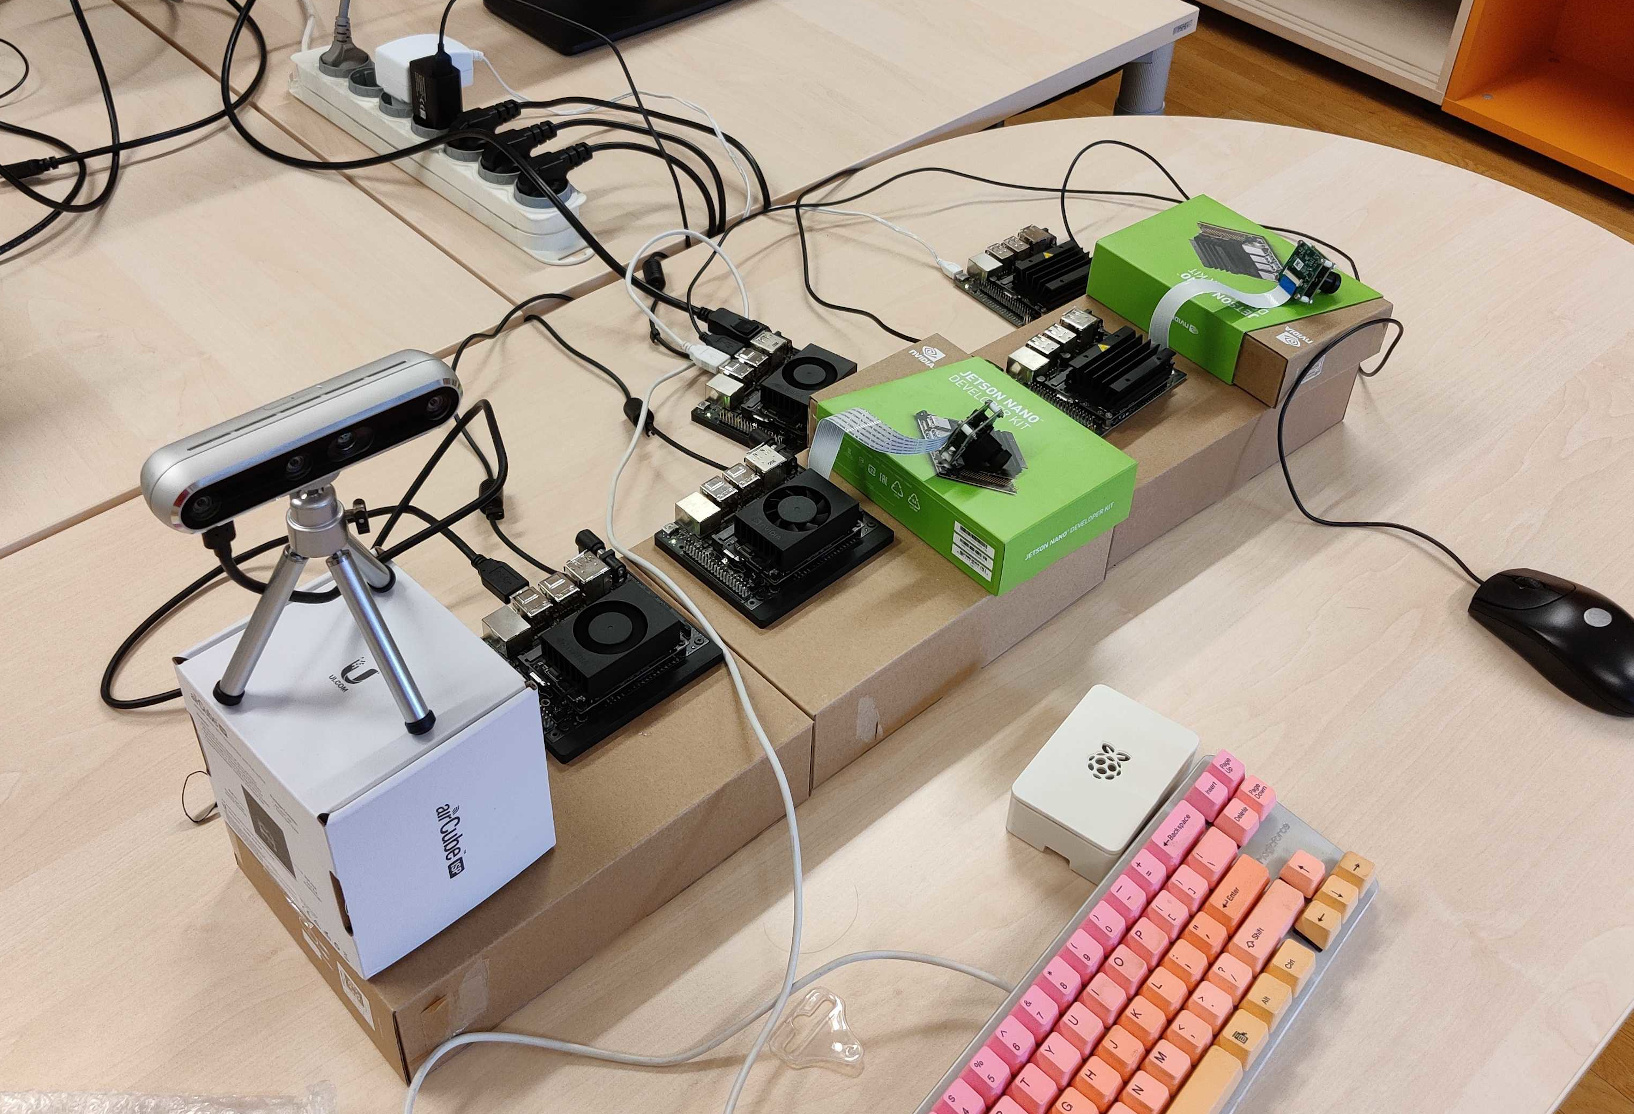
To increase the capability of the computer vision platform which we introduced in the previous blog entry, we add an Intel® RealSense™ Depth Camera D455 to the mix. The setup of the camera on the Xavier NX board proved quite tedious with us needing to collect information from several different GitHub issues. Thus, we decided to give you a shortcut if you ever try to attempt the same thing with this blog post.
The first issue with using the camera with the NVIDIA board arises with the lack of pre-built binary distributions of the RealSense SDK. Because the Jetson board is based on an ARM chipset the SDK provided by Intel has to be built from source on the device itself.
So, first we provide instructions on how to build the SDK from source.
To get started, we first need to install the following dependencies
sudo apt install libssl-dev
After we got our dependencies we can download the source, unzip and create the build directory:
# get source code and unpack
wget https://github.com/IntelRealSense/librealsense/archive/refs/tags/v2.48.0.zip
unzip v2.48.0.zip
cd librealsense-2.48.0
mkdir build && cd build
Now we have to set some PATH environment variables to tell the build script where CUDA is located:
export LD_LIBRARY_PATH=$LD_LIBRARY_PATH:/usr/local/cuda/lib64:/usr/local/cuda/extras/CUPTI/lib64
export PATH=$PATH:$CUDA_HOME/bin
First, we try a simple build as a test if the build is likely to succeed with the statement given below:
cmake ../ -DFORCE_RSUSB_BACKEND=ON -DBUILD_PYTHON_BINDINGS:bool=true -DPYTHON_EXECUTABLE=/usr/bin/python3
If it does succeed then you can try a more advanced build, which builds the example programs and includes optimizations such as building with CUDA support for faster alignment processing on devices such as the Jetson, which include an NVIDIA GPUs.
cmake ../ -DFORCE_RSUSB_BACKEND=ON -DBUILD_PYTHON_BINDINGS:bool=true -DPYTHON_EXECUTABLE=/usr/bin/python3 -DCMAKE_BUILD_TYPE=release -DBUILD_EXAMPLES=true -DBUILD_GRAPHICAL_EXAMPLES=true -DBUILD_WITH_CUDA:bool=true
After our successful build, it is finally time to install!
make -j4
sudo make install
Now pyrealsense2 should be installed, but there are still two errors that might come up.
Resolving Path problem
It is necessary to add the installation path of pyrealsense to the PYTHONPATH, as otherwise your python installation won’t recognize the module.
So put this in your .bashrc file:
export PYTHONPATH=/usr/local/lib/python3.6/pyrealsense2
If you already have added other libraries to your PYTHONPATH, use the following:
export PYTHONPATH=$PYTHONPATH:/usr/local/lib/python3.6/pyrealsense2
Resolving Permission problem
Even though the module can be imported at this point, you’ll probably still have problems accessing the camera. This is easily fixed by adding the rules provided in the SDK’s sources.
sudo cp config/99-realsense-libusb.rules /etc/udev/rules.d/
sudo udevadm control --reload-rules && udevadm trigger
After rebooting your system the rules should be applied and you should be able to find your realsense device with:
rs-enumerate-devices
As a final step you can invoke the library in a python script:
import pyrealsense2 as rs
import numpy as np
import cv2

width = 640
height = 360

pipeline = rs.pipeline()
config = rs.config()
config.enable_stream(rs.stream.depth, width, height, rs.format.z16, 30)
config.enable_stream(rs.stream.color, width, height, rs.format.bgr8, 30)

profile = pipeline.start(config)

depth_sensor = profile.get_device().first_depth_sensor()
depth_scale = depth_sensor.get_depth_scale()

print("Depth Scale is: ", depth_scale)

try:
    while True:
        frames = pipeline.wait_for_frames()
        depth_frame = frames.get_depth_frame()
        color_frame = frames.get_color_frame()
        if not depth_frame or not color_frame:
            continue

        # convert images to numpy arrays
        depth_image = np.asanyarray(depth_frame.get_data())
        color_image = np.asanyarray(color_frame.get_data())
        depth_colormap = cv2.applyColorMap(cv2.convertScaleAbs(depth_image, alpha=0.03), cv2.COLORMAP_JET)

        depth = depth_image[320,240].astype(float)*depth_scale

        cv2.imshow('rgb', color_image)
        cv2.imshow('depth', depth_colormap)
        print(f'Depth: {depth} m')

        if cv2.waitKey(1) == ord("q"):
            break
finally:
    pipeline.stop()
Here is how it should look like if everything is done correctly: